Monday 26 May 2014

The Trash Cabana


A while ago, I started to build a shed for our garbage cans to call home. I know this isn't a high profile project, but somehow it has eaten up gobs of time, and I have managed to procrastinate on it as much as I have pushed forward. In this post, I'll try to knock off design and build in one article, but if it gets long, I may decide to take a break.

The project started with the realization that I could never get into the front of the garage without tripping over two bikes, a garbage can, a blue bin, whatever crap had been removed from the cars most recently, and that the possibility of being knocked out by falling garden tools was a very real possibility as I skirted all the other hazards. I decided that this small project could eliminate the garden tools and garbage cans as obstacles, and open the path to remove further obstacles in the future.

The shed design is pretty simple. My plan is for something tiny - 30" X 85" and fit into the constrained space of a few patio pavers pushed up against the chimney in our back yard. Today that space is home to an outboard motor and a handful of empty planting pots, a couple anchors, and general detritus which should be stored elsewhere. Here is the site, pre-shed.


To begin, I built a base. A lot of folks would have foregone this step, but for me, having a floor attached to the bottom of walls adds structure and firmness that I am uncomfortable not having. The floor was simple. a handful of 2" X 4" pressure treated boards were formed into a rectangle, then every 16" or so I attached cross pieces to add strength to the floor. To the top of this I screwed a piece of OSB subfloor, and trimmed it to match. Making the floor took less than an evening, and allowed me time to tune in to Montreal Canadiens beating the Bruins. I saved the scrap pieces of OSB. I don't know what for.


To trim the OSB floor to size, I drew a cutline, then clamped a 2"x3" to the OSB to act as a guide for the saw. I propped up the saw on some lumber to prevent the blade from hitting the driveway. This allowed me to get good accuracy and a straight cut.


I checked to be sure the base fit the site, it looked just about perfect!


Next I built the frame for the back wall of the shed. I used 2" X 3" boards for the framing since it will be a small auxiliary structure. I also used regular SPF stud grade lumber rather than pressure treated wood. I don't see a need for the extra chemical treatment where the wood will be inside the shed, not exposed to the elements. I covered the back wall of the shed with T-111 siding - an OSB pressboard product designed to look like siding, but not to really offer much in the way of style or protection from the elements.


Since I want to store shovels, rakes, and hoes in here, I made the roof of the shed tall enough that long handled tools should be able to be stored in it or on the shed walls. Looking at plans online, I found that a lot of garbage sheds have a 30° roof line on them, so I used that as my angle for the roof. Only after I had framed up the whole shed did I realize what an 8 ft high shed, 30" deep looks like with a 30° roof angle. In case you are wondering, the best word I have is "imposing."  Realizing my mistake, the neighbours let me know just how ugly the shed looked from their side of the fence. I appreciated their design taste, and agreed with them, so let the shed sit a few days while I mulled over ways to fix the problem.

Although it is an expensive material, I managed to keep costs down by using cedar as an exterior finish. I had about 5 bundles of cedar tongue and groove wainscot that we bought for a house long since sold, and have never found a home for. Here I installed it horizontally (wrong direction) as an exterior finish (it is meant as an interior material). I am hoping that I can seal it up with stain and that it will last. If it doesn't last, I can replace it easily, so I'm not too worried about the material. My biggest concern is whether racoons will chew through it to get at the garbage cans.


Eventually I came up with a solution to the height issue. Using my Skil saw, I cut down the front of the shed by nearly a foot, and recalculated the angle of the roof to close to 60°. This looks much better and will allow me to use a single 4' X 8' sheet as a roof deck. Some quick hammering, and I had a top plate on the front of the shed. On the sides, I will tie in the framing to the rafters for now, but likely add in strapping later on to make sure the framing stays strong and doesn't move.

For the roof, I cut birdsmouths to make rafters. The cuts went surprisingly well using my compound mitre saw to cut boards to length and angle the ends, then cut the birdsmouths in my band saw. Although this could be done using a jigsaw, the short rafters, and availability of the tool made the bandsaw a great candidate for the job, and I was surprised with how well it went.

Cutting rafters is a challenging but rewarding job, and I feel good knowing how to stick frame a shed roof.

Using a scrap piece of lumber, I cut the ends of a test rafter to 30° on the mitre saw to match the roof angle.


With the tops and tails cut, I could make the birdsmouths. A birdsmouth cut allows the rafter to sit flat on the top of the wall framing (the sill) and makes the roof far more stable. The challenge is laying out the first rafter to sit properly. In order to do this, I set the rafter on the shed, and using a square, mark the vertical extension of the inside of the ridge board. Similarly, I mark the extension of the outside of the wall sill. Since this is a shed roof, the back wall framing will act as the ridge. I set the cut to go about an inch and a half deep, then mark a line perpendicular to it. These two small triangles will form the birdsmouth cuts.

At the Ridge

At the rafter tail

Rafter ready to go!
With the test rafter cut, I could go to the test and see how the fit is. In a perfect world, all the geometry would line up, but rough framing is usually not perfect, so the rafter may need tweaking. Once it looks good, I test it in a half dozen spots along the roof in case the walls are out of plumb or aren't parallel. I tweak the test rafter until I am satisfied it is the best fit I can get, then set it aside to use as a template. Ill trace its cuts on to the good 2X4's and use the test rafter as a fill-in someplace in the middle since it is so marked up and beat up.

With all the rafters in place, things are starting to take shape!


Now that I know what angle my roof and eaves will be, I forged ahead with wrapping up siding the shed, and trimming out the soffits and fascia. I thought that rough hewn western red cedar would make a nice contrast to the eastern white cedar I had used as siding. The next few pics show the siding completion, rough cedar trim, and the roofing going on.

Siding up to the roof!

Working alone, its easier to attach the end rafter by having a clamp hold it in place while I screw. I used clamps a lot to hold things square or temporarily position stuff while I got tools and fasteners ready. This rafter would later be hidden behind rough cedar fascia and soffits. The trimmed 2X4 at the front of the shed was a temporary board to hold the rafters in place while I attached the roof deck. It was later replaced with  Rough Hewn Western red cedar

Trimmed out, and shingles going on!!
By now the Canadiens are playing the New York Rangers, which means this project is taking waaaay tooooo lonnnnng. The roof is now complete, and its time to trim the front door. I am hoping to get eth door jambs and trim up tonight, so I can start building the doors. Door building can go late into the night since it is all done inside the garage, with just final fitment outside.

Hopefully my next update will have the doors going up!

For Cabana Completion, visit here!


Wednesday 21 May 2014

May 2-4 escape to Darlington Provincial Park


"The 24th of May is the Queen's Birthday,
If we don't have a break, we shall all run away!"

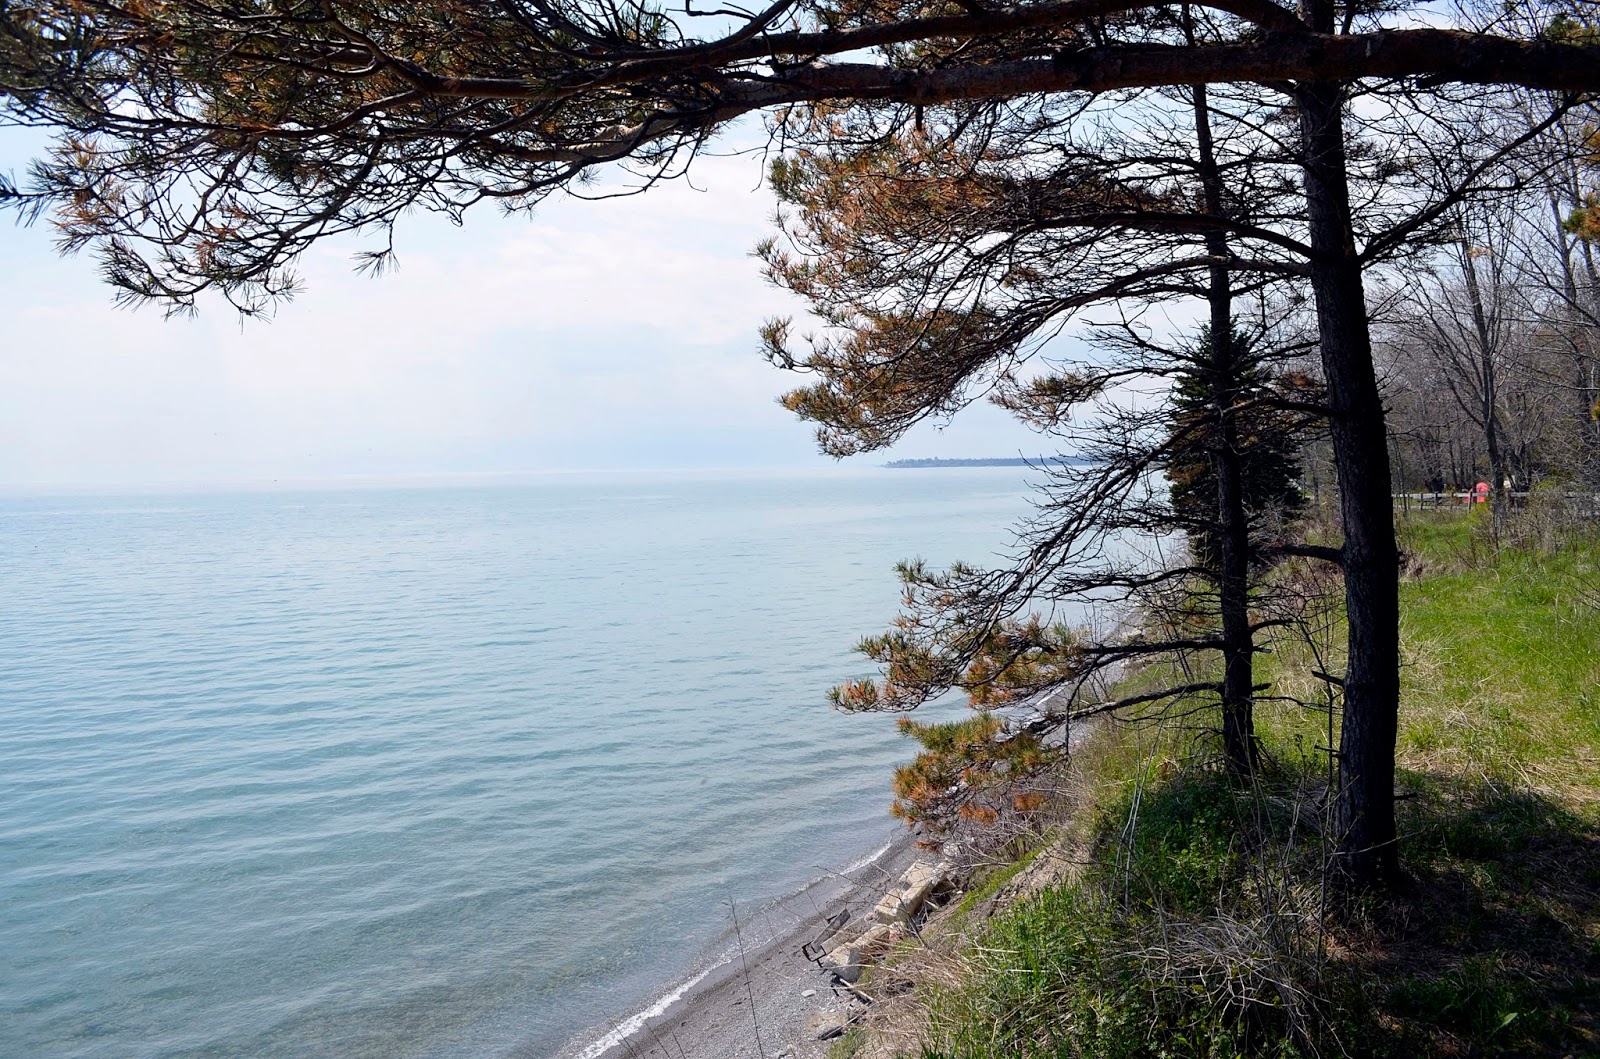
Well, we almost got blown away. This year we decided to forego the usual grind up Highway 400 from Toronto to "Cottage Country or Algonquin, and instead opt to go camping as close to home as was practical, and so on an overcast, fiercely windy day, we found ourselves struggling to set up tents on a lakeside campsite in Darlington Provincial Park, while waves crashed on a pebble beach some 30 feet below us.

Actually, the weather conspired against us long before we loaded the cars to go camping. Wednesday night, the night of the first races of the season at the Yacht club, I was out sailing when a storm front rolled and writhed its way northbound across Lake Ontario. The cold rain fell in a sheet, with piercing ferocity, soaking me through in an instant, and utterly swamping the boat, sails, and sailors. We turned tail, and returned to our slip. The weather; however, continued through the evening such that my shoes were completely underwater on the walk across the parking lot to the car. The sheer volume of water was enough to back up the gutters and drains in the streets, and to wreak havoc on our yard work plans for the rest of the week.

Of course the weeds and grass thrived on the spring rains, and jumped up suddenly and without warning.

Which leads us to Friday afternoon which was when I cut the lawn, packed the truck, and consulted Google Maps to see just how bad the holiday weekend traffic was to get out of town and to the provincial park. Google cheerily replied that he drive would be 30 minutes in current traffic. All things considered, I figured that was acceptable for travel to a nearby park on one of the busiest travel days of the year.

Ten minutes later we pulled into the park, with Chuck and one of her friends in the back seat.

I had booked our site very early, and so got what appeared to be a prime site on Darlington's website. Our site was perched atop a 30 foot sand bluff, overlooking Lake Ontario. We only had one neighbour, and although it was a bit of a hike from the site to the nearest washrooms and water spigot, I figured the views and privacy were a fair trade for the lack of amenities the spot offered.


When we arrived at dinner time on Friday we wondered if the site was a wise choice. It was a mudpit. Standing water surrounded the fire pit. wet gooey mud covered most of the living area. Two islands were just big enough to set the tents on. I was worried that the truck would settle into the mud and we would have trouble getting out the next day. But being of hardy stock, we decided to soldier on, and we got camp set up before noshing on a dinner procured at SubWay.

Just prior to this trip, we noticed a "Beginner Camping Set" at Wal-Mart for a very reasonable price. For $100 the kit included a tent, sun shelter, 2 chairs, and carry bag. We scooped it up and decided that it would be our car camping kit. It worked nicely alongside our older gear, and we were actually quite surprised by the ease of setup and quality of the kit. In these pics, all the Wal-Mart stuff is lime green.


It quickly became obvious that quietude is a relative term. Not long after we got the tents up and fire started, our neighbours moved in. They faced similar issues with their site, and it was wide open to see them struggling to find dry land and get tents up. They were travelling with an older lady and younger kids, so we offered for the kids and Grandma to come and share our fire while their camp got set up. They declined and kept their distance. Night set in quickly, and after dinner and smores, we settled into bed.

It seems that CP Rail (maybe CN, or Via, or GO, or all of them - I'm not sure) has timed their schedule to wake campers in this park. Trains pass nearby throughout the day, but as night sets in, their whistles and the thunder of their wheels on the tracks become more frequent, and travel further. The sleepier you are, the more intense the noise of trains. This can't be overstated. Don't come to this park if you hate train noise. They are both constant and loud, but you get fair warning - you have to cross the tracks at the park entrance. We slept, but restlessly.

On Saturday morning, we awoke to the winds off Lake Ontario gaining intensity. I figured they were either blowing in sunshine or blowing in rain. Either way, with the camp already set, there was no point in complaining - and if things really went downhill, we were only 10 minutes from home. I started rigging our Ultralight ripstop nylon tarp - the good one that has seen us through canoe country and severe weather in strange places. My idea was that I would anchor the windward side of the tarp close to the ground, and the leeward side up high. That way we could shear off some of the wind. I would use the centre tie to go up to a tree limb in order to provide more headroom, and the whole thing would be a tarping work of beauty.

In the end, I couldn't get the centre up to a good branch, and had to use a pole - but the tarp still worked beautifully. Our neighbours enjoyed the show while I engineered the tarping solution. In the end the tarp did shear the wind, and adults stayed protected from the shoulders up while children suffered below. Ahhhh. camping.

We settled in under our tarp to a breakfast of Pancakes, and watched as the same hilarity began to unfold next door.

By now we had established a relationship with our neighbours, and we got to watch as they rigged their equally impressive windbreak. Their solution was to use the fence along the edge of the campsite as a frame on which to build a wall with a tarp. A small peak allowed them to tuck a picnic table in under the tarp, and before long they were snug in a little alcove, protected on three sides. As a piece-de-resistance, they incorporated a beach sun-shade into the design to allow for an expanded wind-free area. We quickly stole the idea, and now had a great system going. The kids became friends and before long we were sharing food and stories at both campsites.


The great challenge in the 'urban plan' was that we had sacrificed the views from the site for better livability. It was a shame since the views really were fantastic - but if you angled yourself just so, you could still see down the shoreline to the lake below...


On Saturday night, the boys, Mom, and I went to a party at some friends house in town, leaving Chuck and her friend to fend for themselves. Unfortunately, the friend didn't feel well and called her Mom for a ride home. We had a great time at the party, eating and drinking, and drinking, and drinking, and that meant I didn't feel well in the morning. After voiding my stomach of its contents, I returned to bed while Mom and the kids went to the beach or on hikes, or something and finally around 1:00 PM on Sunday, I crawled out of the tent to a cheery 'Good Morning!!' from our neighbours.

About 5 minutes later Mom and the boys returned and we got on with our day... which mostly consisted of lazing around the fire and trading jokes with the neighbours. It was a beautiful day of sunshine and light breezes. A perfect camp day. Buddy found a log, and under it he caught worms and bugs, which he lovingly nursed to death.


As dinner time approached, we made a trip to the camp store where we got a resupply of firewood ($7 per bag, $5 for kindling) and picked up a "Pizza Grill" which was immediately re-purposed as a general 'over the fire cooking device' and was used to prepare baked potatoes and chicken drums, while I made a salad on the picnic table. The chicken turned out amazing - 35% smoked, 65% grilled, 100% delicious.


After dinner we joined the folks next door and told ghost stories around the campfire. They shared tales of the Banshee and haunted castles while I told of Camp X just down the beach, and the legend of La Chasse Gallerie from old Quebec. (If you don't know La Chasse gallerie - look it up, its a fun story.) Once the spooky stories were done, we headed to bed.

Monday Morning came in bright and beautiful. After a breakfast of bacon and scrambled eggs, we broke camp, then went for a walk along the waterfront trail and visited a bunch of the campground's beaches and picnic areas. We all agreed it would be a great place to visit again in the future! The picnic areas are huge and offer BBQ's and picnic tables, open grass and trees, shelters and playgrounds. Really a great spot for lunch with a crowd, a birthday party, or an event for a Scout Troop or Guide Unit.

With Darlington so very close to home, we will likely be back - maybe even just for a day trip. Its fantastic when you find these little gems and can remember them for future outings!


Tuesday 6 May 2014

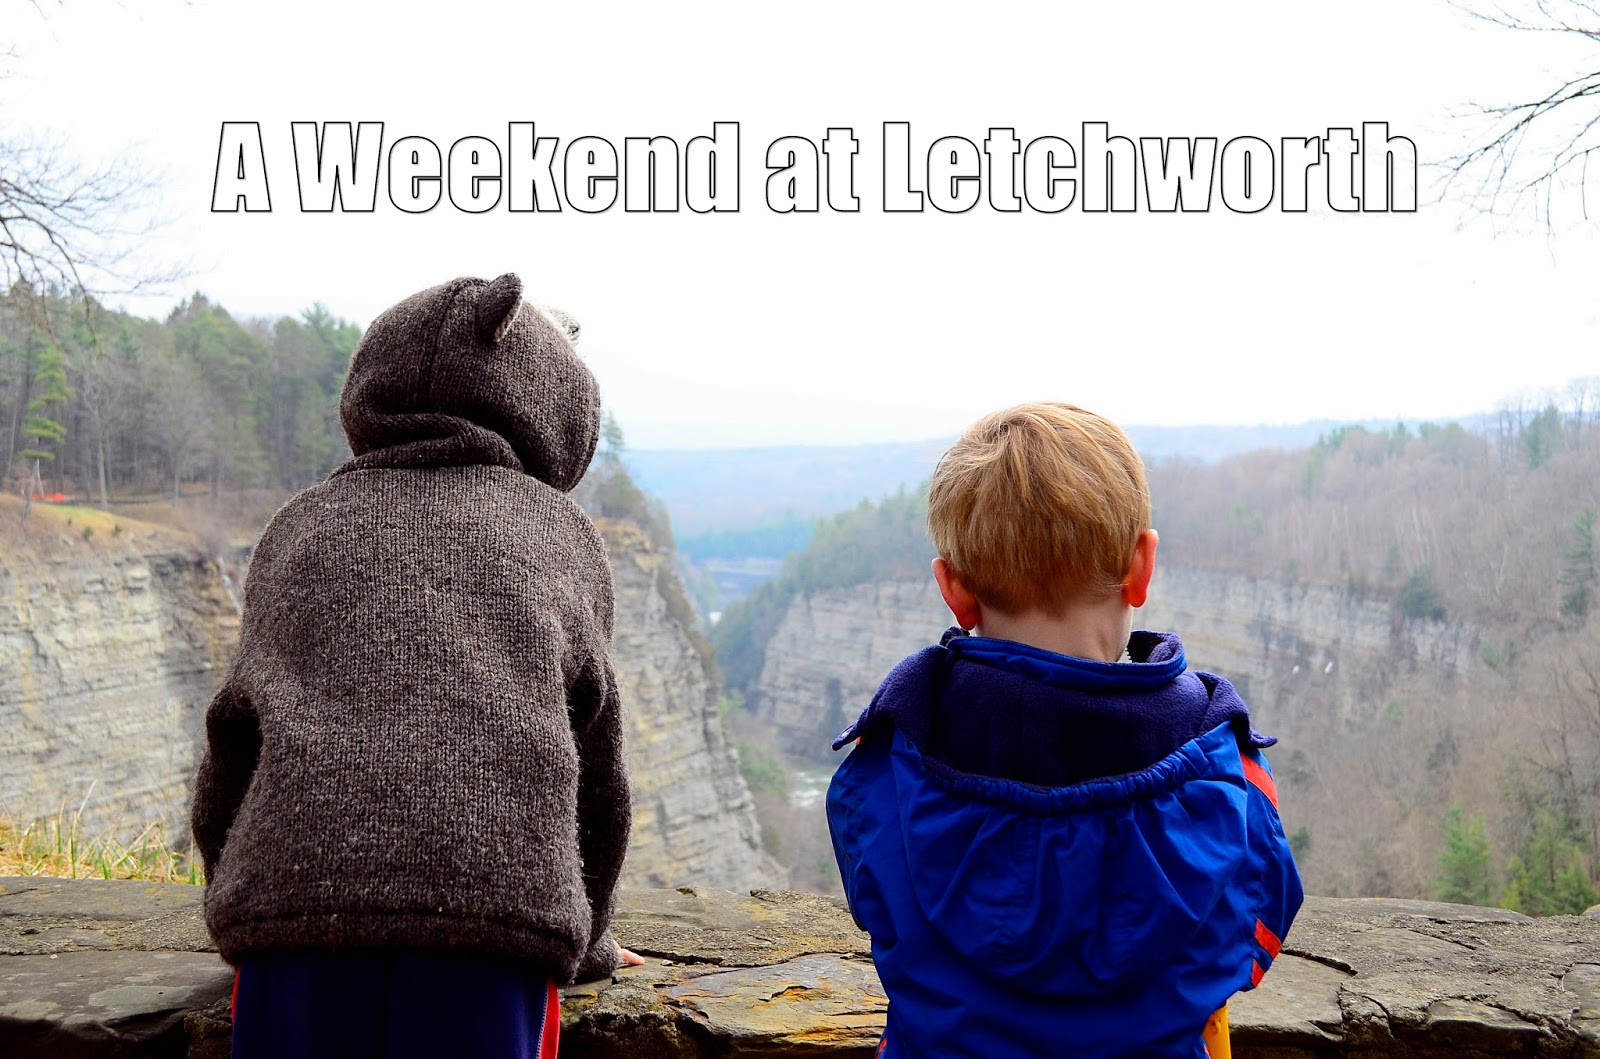
A Weekend at Letchworth - Part 2 of 2

I'm sure you've been waiting ever since the LAST post for this post about our weekend at Letchworth State Park - I mean I said I'd have it done the next day and all that. Well sorry to take a little longer. Its been nutty around here with launching a boat and scrubbing a boat, and all things boaty.

In any case back to our weekend getaway in upstate New York - the land of waterfalls and rocks.

 I'm going to start with a tour of the cabin we had. I do this because before our trip, it was next to impossible to figure out what to expect of a State Park as far as accommodations go. The park website lays it out pretty well, but 'rustic cabin' can be interpreted many ways.

To begin with, our cabin was in cabin loop 'C'. All of these are considered year-round rentals, but only some of them have electric heaters. The others have wood stoves. A woodstove would have had nice ambiance, but I've lived with wood heat, and I like having electric lights available. Our cabin was small, but met all our needs well. It was three rooms.

Room 1 was a "Multi-purpose room" which included kitchen, eating area, and well, not much else. here it is:


The kitchen table had 6 chairs, and there were beds and cots for 6. There was also one sitting chair in case one of the 6 people in the cabin didn't want to sit at the table. Or something. We never figured out why that chair was there.


It was nice that the kitchen included a microwave, but we didn't have anything to actually microwave in it. Knowing that the microwave was there, next time I'll bring popcorn. Also, a fridge. It isn't really camping of you get a microwave AND a fridge, is it? The only thing missing in the kitchen area was running water.


Off the multi-purpose room were the two bedrooms. Each one had a bunk bed in it plus a single cot. This made for sleeping space for 6 in the cabin. 6 lonely single people who didn't want to share a bed. I think the cabins were designed by Quakers. Also the electric heaters have noisy fans that kick in with a rattle, just before the start wafting hot air over you. Don't leave anything meltable in front of those heaters. They really heat!
\

Every cabin in the loop faced the back of the next cabin. This gave the illusion of privacy. The view, however; left something to be desired. here is the view from our front door:


 Looking at our cabin, you can see that it has an accessible ramp, all the cabins in loop C do. Also there was a BBQ out front, but it was far from level, and experience has taught that out of level charcoal BBQ's tend to dump hot coals on your feet and hot dogs on the ground. Behind the BBQ and picnic table, there is a water spigot. Its that close. Running water less than 50 feet from your front door hardly counts as camping at all.


Here is the water spigot and the back of the cabin. Every time I say spigot I think of Rowan Atkinson performing a wedding. "In the name of the Father, and the Son, and the Holy Spigot." Ok back on topic. The Holy Spigot can be seen in the foreground, picnic tables are midground, cabin is background.


This is the 'other-other side" of Cabin 12. Here you will see a second picnic table and a fire pit. Letchworth State Park is very generous with their picnic tables. We are going camping at an Ontario Park this month, and I bet they will only give us one picnic table, and one place to burn things. Letchworth gave us two of each. We were impressed, but the weather was too poor to eat outside, and we had nothing to burn.

 Finally, the front of the cabin. There is a Muskoka Chair (Adirondack Chair of you are American) on the porch, but they bolted it down, which made me giggle.


So that's as good of a photo shoot of a Letchworth Cabin as you are going to find. I don't think there is much that I can add to the photos. If you are thinking of a packing list, know that what you see, is what you get quite literally. Apart from the stuff in these pics, there are no other amenities in the cabins. Flush toilets are a short walk across the campground. The cabins form a ring around the toilets - that sounds wrong, but you know what I mean. My only other comment about Loop C is that it is very remote from all the stuff in the park. If you want to see the falls or gorge or play tennis or whatever, you will be driving. Maybe bring a bike, but there aren't any bike facilities along the roads, and there are no shoulders.

There was a park in the middle of the cabins. By "was" I mean it no longer exists. Today all that is left of the park is a steel slide with notches in its belt for every child's tooth it has removed, and arm it has broken. The boys Loved that slide, and spent a lot of time in the rain sliding on it. The end of the slide is a good 2-1/2 feet off the ground. Check your insurance policy before you let your kids on the slide.

Anyways, back to our travelogue. On Sunday morning we woke up with hot heads from the heater blowing on my cranium all night (I slep on a mattress on the floor). After dousing my head in cold water to stop the sizzling, we had breakfast, packed up the cabin, cleaned it, locked the kids outside and took the pics above to convince you that we live in an idyllic world where our children can keep a camp clean.

Then we drove to Tea Table Picnic area. Cuppa liked the picnic shelter. I was impressed by it too.


 Tea Table is a flat surface where the Letchworths used to come for tea. Or something. It is one of the better picnic areas in the park. The view from Tea Table was really nice. Turkey vultures were circling on the updrafts and thermals from the canyon walls. Sadly I didn't get any really good pics of them.


The lookout had Pay-noculars just like Niagara Falls. The boys thought they were some kind of climbing apparatus. Then I put a quarter in one and Buddy thought they were the best things EVER! After that he asked for a quarter at every viewing station.


 We left teh Tea Table picnic area, and headed for lower falls. It was the only falls we had missed the day before. and we were determined not to mis the last of the three major falls in the park.

The walk to lower falls starts at this pavilion. Check out the rock stacking here. Who has time to make perfect arches out of stones and mortar. Amazing work.


After leaving the pavilion with the arches, there are exact ONE BILLION stairs you have to descend to get to lower falls. Half way down you think you will die, and you no longer want to go to the stupid falls, because really, who cares any- OMG lookit that bridge!


How in the name of allthings holy did that bridge get there. It looks like its out of "The Princess Bride" you expect teh six fingered man to step out any moment. And you go all like "My Name is Inigo Montoya, you killed my father..."

And so half a billion steps later, you find yourself descending the last of the stairs, and at the smallest, but prettiest of the falls. These falls feed into a tight and narrow canyon, and then go...


under the PRINCESS BRIDE BRIDGE!!


OK, maybe its more Shrekish, you know, where he rescues princess Fiona, and she insults him for being an ogre, and Donkey is all like "Dat Cold, Dats real Cold." and then they start making jokes about Farquad, but Fiona doesn't get it. You know that scene? Yeah, maybe the bridge is more like that.


 This rock has balls. The balls are from when organic matter got churned around in the river, and then sediment built up on it. There's a thing about rock balls at the visitor's center.

Now the thing about the Princess Fiona/Buttercup bridge and the billion steps is that now that you've been lured into the honey pot, you have to go back from whence you came or perish forever ... UP the billion steps you go. And if you are 3 (or 40-ish) that trip is onerous. I found it helpful to sword fight invisible enemies and repeat "My name is Inigo Montoya. You killed my father. Prepare to die."


At the top of all the stairs there is another spot where there was a park. And another slide that the lawyers love. Because we are good parents, we allowed our children to risk their lives on the slide while we photographed them.


And example of a sliding casualty. Cuppa fell off the bottom rung of the ladder and rolled around in the wood chips. He was too tired to get up.


Then with help from Momma, he got his slide on!


So some takeaways from camping in The States:

1. If you eat out once, you will have leftovers for a week. You will not need to bring any other food since the serving sizes are ridiculously huge everywhere.
2.The cabins are really well equipped for everything except sleeping. If we did this again, I would bring an air mattress rather than sleep on the plastic mattresses and steel frames.
3. At the border they will search your car for firewood and fresh foods if you say you are camping. packaged foods were OK for us to bring into USA. Consider bringing money and stopping at a Piggly Wiggly or something. I don't really know what the grocery stores in Buffalo are called.
4. Bring an activity for the kids. If we weren't on the trails or outside the kids went batty in the small space of the cottage, and crayons were only interesting for a very short time. The slide of death held endless appeal though.
5. Leave your schedule and ideas at home and go with the flow. When hiking tired us out we went antiquing in nearby Mount Morris. It was fun, but totally unplanned.

On the way home we got a bottle of Vodka at the duty free. It helped me write this post. I wonder if it will be as witty in the morning...