
Before starting on this, I got my heart set on doing a picture frame floor. There are some risks associated with stretching yourself into this sort of utilitarian art, mostly that once you start you can't go back, and that whatever flaws come up because of stretching will negate the awesomeness of everything else you do in the project. Nevertheless, I wanted to try, and so we now have a spare room (rarely visited) with a pretty cool floor... and a few small hiccups that will be covered by furniture. Forever.
Months ago we tore up the carpet in this room, only to discover some rot in the subfloor. That took the wind out of our sails and feeling woebegone, I stalled on the project for months. This post picks up where that floor repair left off.

The first step in laying the floor is to prepare the subfloor. In our case that meant finding the high and low spots. We used a 6 ft long straightedge, and made a grid of marks one foot apart. Then with straight edge up on its side, we used chalk to mark where the floor was high or low.
Many online instructions advised raising the low spots by filling with a leveling agent and lowering the high spots with aggressive sanding.

I used my Triton Sander (review here) and sanded down the worst of the high spots, then rechecked with the level and found that the floor was mostly flat. This brought relief since I didn't want to mess with a leveling agent. The sanding kicked up a lot of dust, and the sander really heated up from the aggressive use, but it all worked well.
With the floor mostly level, I started putting flooring screws into the floor to eliminate squeaks and stiffen the floor. At some point, someone before me had done this same task but with nails. I decided to just put a screw between each pair of nails in the floor. I went through a lot of screws. Once I was done, the floor was noticeably stiffer, and silent. If anyone ever lifts this hardwood, they will find 3 different sets of flooring fasteners. I wonder if they will add a fourth.

After all the screws were in, the high spots were even lower, and the floor was very flat. It was time for Kraft paper. Putting down paper under a floor is an object of some debate. First there is the debate as to what the purpose of the paper is in the first place. Historically, the paper was meant to block out dust and light from seeping through the hardwood into rooms below. There are stories of NY tenement apartments where the pinpricks of light from upper stories filter down through the floorboards, and of sweeping dust "through the cracks" to apartments below.

Today, that really isn't an issue, since most folks have ceilings. Some people claim the paper acts as an airbreak, preventing heating from escaping to upper stories. Some also claim it prevents the hardwood from scraping against the subfloor, creating squeaks. Some say it is a relic of days gone by, and does nothing at all. I have no opinion on any of these ideas, but I had a roll of rosin paper and a roll of tar paper, so I figured what the heck, no reason not to lay the paper since it wouldn't hurt anything. I asked online about the advantages of Tar vs Rosin paper for this, and opened a furious debate. In the end I went with rosin paper since it was the smaller of the two rolls and I hoped I would finish it off and free up some storage space. (I didn't) My helpers were very helpful working the staple gun and very-sharp-knife.
The one tip I can offer about laying paper for hardwood is to lay it so it is perpendicular to the flooring. This means that the pieces of flooring won't catch on the seams in the paper.
With the rosin paper down, and the floor leveled, I could finally start laying out the floor. I marked the floor joist locations on the walls, Then checked the walls for squareness. The advantage of a picture frame floor is that the frame eats up whatever out-of-squareness you have in your walls. The disadvantage is that you end up needing to make some very precise cuts and pre-thinking a lot of the layout. It is not a difficult thing to do, but you can't just start slapping down the wood.

Using a stringline, I laid out a 90° corner two strips of wood out from the wall. A trick to be sure things are square is to use a 3-4-5 triangle for your layout. This means that a triangle with sides measuring 3 ft and 4 ft will have a hypotenuse 5 ft long.
A2 + B2 =
C2
32 + 42 = C2
9 + 16 = C2
25 = C2
5 = C
32 + 42 = C2
9 + 16 = C2
25 = C2
5 = C
Once my string was square, I set to cutting and placing the corner pieces and locking them in. to do this, I got some cheap MDF and laid it in line with the string line. The MDF would act as a guide to lay the hardwood to.

I used a mitre sled to cut all my angled cuts. The trick of a mitre sled is that it has a pair of fences that form a 90° angle. The angle is very nearly bisected by the saw blade, but doesn't have to be right at 45° since the included angle will always add to 90° as long as the fences are kept square. By cutting two boards , no matter what the angle on either side of the blade is, the two boards will always mate flush to form a 90° angle with no gap.


With my corner pieces cut at 90°, it was time to actually start laying hardwood!

Here I made a mistake. I thought that using brads to hold the edge boards in place would be strong enough. I know that you are supposed to use screws, but I thought that brads would be less intrusive and reduce risk of the boards splitting. I was wrong. Trust me, use screws and avoid much frustration. See how nice and tight the corner is up there? See how perfect it is? Well, every board I put in bent the brads and drove that corner out of square, and there was no going back to tighten it up. Lesson learned and an 1/8" gap now lives in that corner. I have a dresser to put over it.
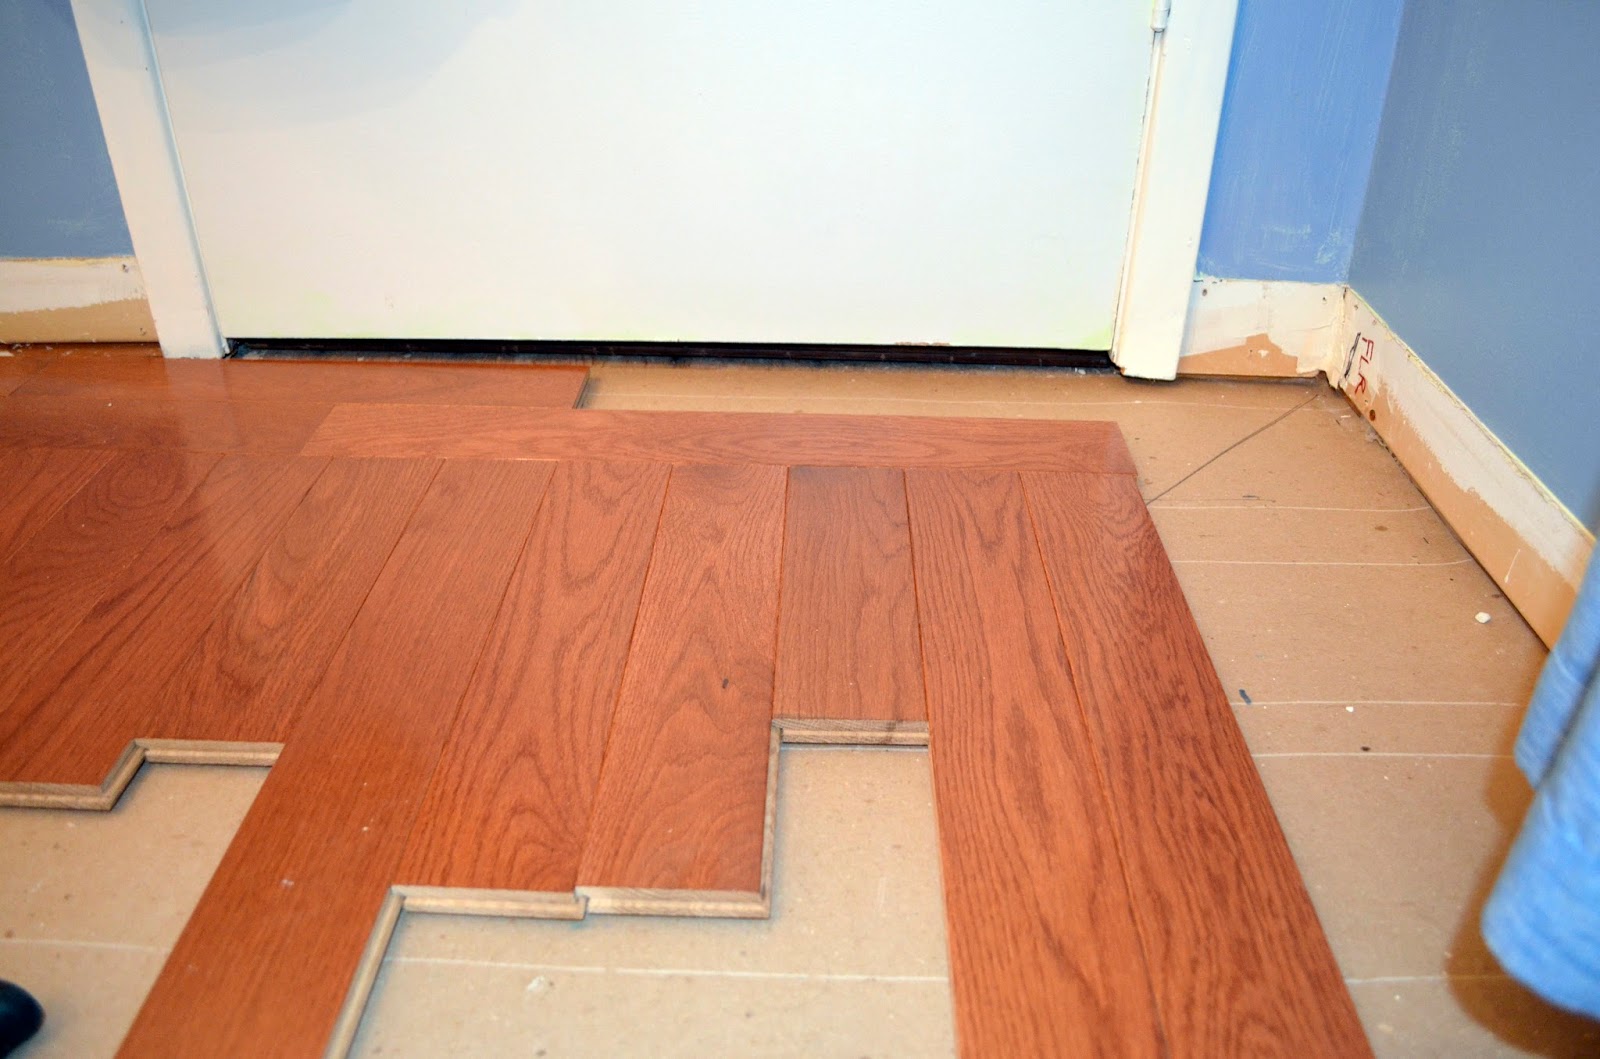
Luckily, working around the closet doors turned out much better.

With the first rows set in place, I started working on the field, which goes pretty quick. Its just a matter of setting boards in place, snugging them up, and whacking the flooring nailer with the big-ass hammer.

First row with the floor nailer. Yay, this is fun!

Almost halfway through and the glitter is starting to tarnish

Satisfying corner work looks all professional and stuff.

Regular vacuuming keeps sawdust and debris at bay. Even so, the house is full of sawdust and debris. By this point laying hardwood is no longer fun.
Once I started getting close to done, it was time to sweat over the last side of the picture frame. because I am a DIY guy and not a pro, I found myself in trouble. My layout was off by 1/4" which meant my picture frame would be unperfect. I couldn't put a 1/4" sliver of wood in as the last row of hardwood, so I was flustered, and left off work for a week.
During that week I hung out on a beach in Cuba and thought about what to do.

Inspired by Rum Punch and Cubatas, I returned home to finish the job. First I laid out a bunch of boards to replicate what the corner would look like when it was completed.
With that done, I marked and cut off a board to approximately the right length for the corner.

I used a scrap of wood behind it to support while I nailed and pinned it in place, Then finished laying in the field.

Being off by 1/4" on the angle gave me enough clearance from the wall that I could maintain my 2 board picture frame, but slide in a 1" board against the wall. The trim would hide the narrow board. I had a good plan and went with it.

In no time the whole floor was complete, and now we are ready for baseboards and transitions. I am still deciding whether to continue into the hallway (I hate the flooring out there) or do another bedroom next. I think it will be the hallway, but that is a pricey proposition with all the bullnosing I would need around the stairs. For now I'm focusing on finishing up the baseboards and trim in this room, and patching the drywall in the closet.

In any case - all done - here's to the new floor in the spare room!

Yay Floor!!