Monday, 6 January 2014

The "Forever" Towel Bar Install

OK this is not the fastest way to install a towel bar. Its also not the easiest, but if you live in a house like mine where munchkins regularly rip stuff outta the walls and tell you 'it was just like that' as they stand with a towel bar in their hands, then you need this article on installing a wall fixture with hidden backer-board embedded in the wall.

I am aware that this is not the most exciting blog post ever, but meh, whatever.

Choose your site. Pin up the template.


Most towel bars come with a template that shows where to drill for a proper installation. Using a pair of thumbtacks, attach it to the wall. The thumbtacks do 2 wonderful things. First they don't mark or tear the paper. Second, they leave a center hole for you to line up a drill on. Put a tack in on the dead center of where each holder shown on the template.


Once the template is in place and level, you can drill small exploratory holes using the tack holes as your guides. These holes will show whether you are on a stud or not. If you are on a stud, there will be wood shavings after you get through the drywall. If not, you will hit either air or insulation.

Installing the towel bar this way, you don't have to be on a stud, but it does make things a little easier if you are. In my case, I hit a stud with one end of the towel bar, but not the other. That means I only need to install one backer-board.

Make some holes

In order to hide your backer-board, the first thing to do is get out the largest hole saw you can find. I happen to own a 4" hole saw, but a smaller one is fine for this. Just get the biggest one you can. Using the pilot hole you already made as your centre, drill into the wall to make a big hole. Save the plug.

If you aren't familiar with hole saws, I have put a section at the bottom of this post to help you figure out how to assemble them, and how they work. Please skip ahead to it now. If you are familiar with hole saws, read on!

Install Backer-Board

This step is the one that makes this a "forever install" By putting a wood backer board behind the towel bar we can ensure that the bar can't be ripped out. Basically we are holding the towel bar in with a chunk of wood instead of a couple puny screws. I went to the garage and grabbed a scrap hunk of plywood out of my bin. Measured to make sure it would fit through my hole, and then set it in place.


I like to put a screw in the board about 1/2 way down to act as a handle and to make sure it doesn't fall into the wall cavity. here I have insulation to help hold it in place, so its not as critical to have a way to hold the board.

Slide the board up into the hole and then back down into place. Use a couple drywall screws to hold it there.

Backer board screwed in place. Centre screw is temporary handle.

Now we need to replace our drywall plug to give a nice surface to attach the towel bar to. I'll put a couple more drywall screws in place to hold the board firmly, then screw the drywall plug to the piece of wood with some screws offset from the others. I don't like packing too many screws together.

Camera flash turned this green! It should be blue!

At this point I pull out my drywall mud and slather up the repair to hide your work. No one will ever know that there is a board behind the wall. Take the rest of the day off while the mud dries. You can go sledding with the kids or something.

Drywall patched and sanded!

The next morning you will be ready to sand the mud down, and make it look ready for paint. 5 minutes with a paintbrush, and the wall looks like it did before this all started.

Whats more exciting than watching paint dry? Playing!
Go play with the kids for an hour!

Now you can go have breakfast while the paint dries, and know that before another half hour is past, you will have your towel bar ready to go.

Put the template back up. Now that you know where solid surface is, and since the surface is so over sized, you can afford to move it around a little. In my case, I knew exactly where the stud was (from my first exploratory hole) I was able to skip the thumbtacks and set straight to putting up holders.

Your towel bar will have come with 2 holders, 4 screws, and 2 wall anchor plugs. The work we have done so far means you can throw out the plastic wall anchor plugs. They never work anyways. Measure the screws. If they are 1" long or more, we can use them. If less than 1" long, throw them out too and get some 1-1/4" wood screws.

Using the paper template, attach one holder to the wall with 1 screw.If your first pilot hole hit a stud, like mine did, then use that hole for the screw. If not, go right through the drywall and screw into the wooden backer board. Leave the screw loose enough to be able to adjust the template.


Use a thumbtack and a level to get the template exactly in position, then put the second screw in for the first holder. Repeat at the other end of the template. Tighten everything.


You will now have a towel bar template screwed to your wall. If your wife walks in at this stage she will be convinced you are nuts.With everything in place, you can tear the template off the wall. It is garbage anyways, so show no mercy. Just rip it off. Don't bother loosening the screws. A little paper may stay in there. It's not an issue.
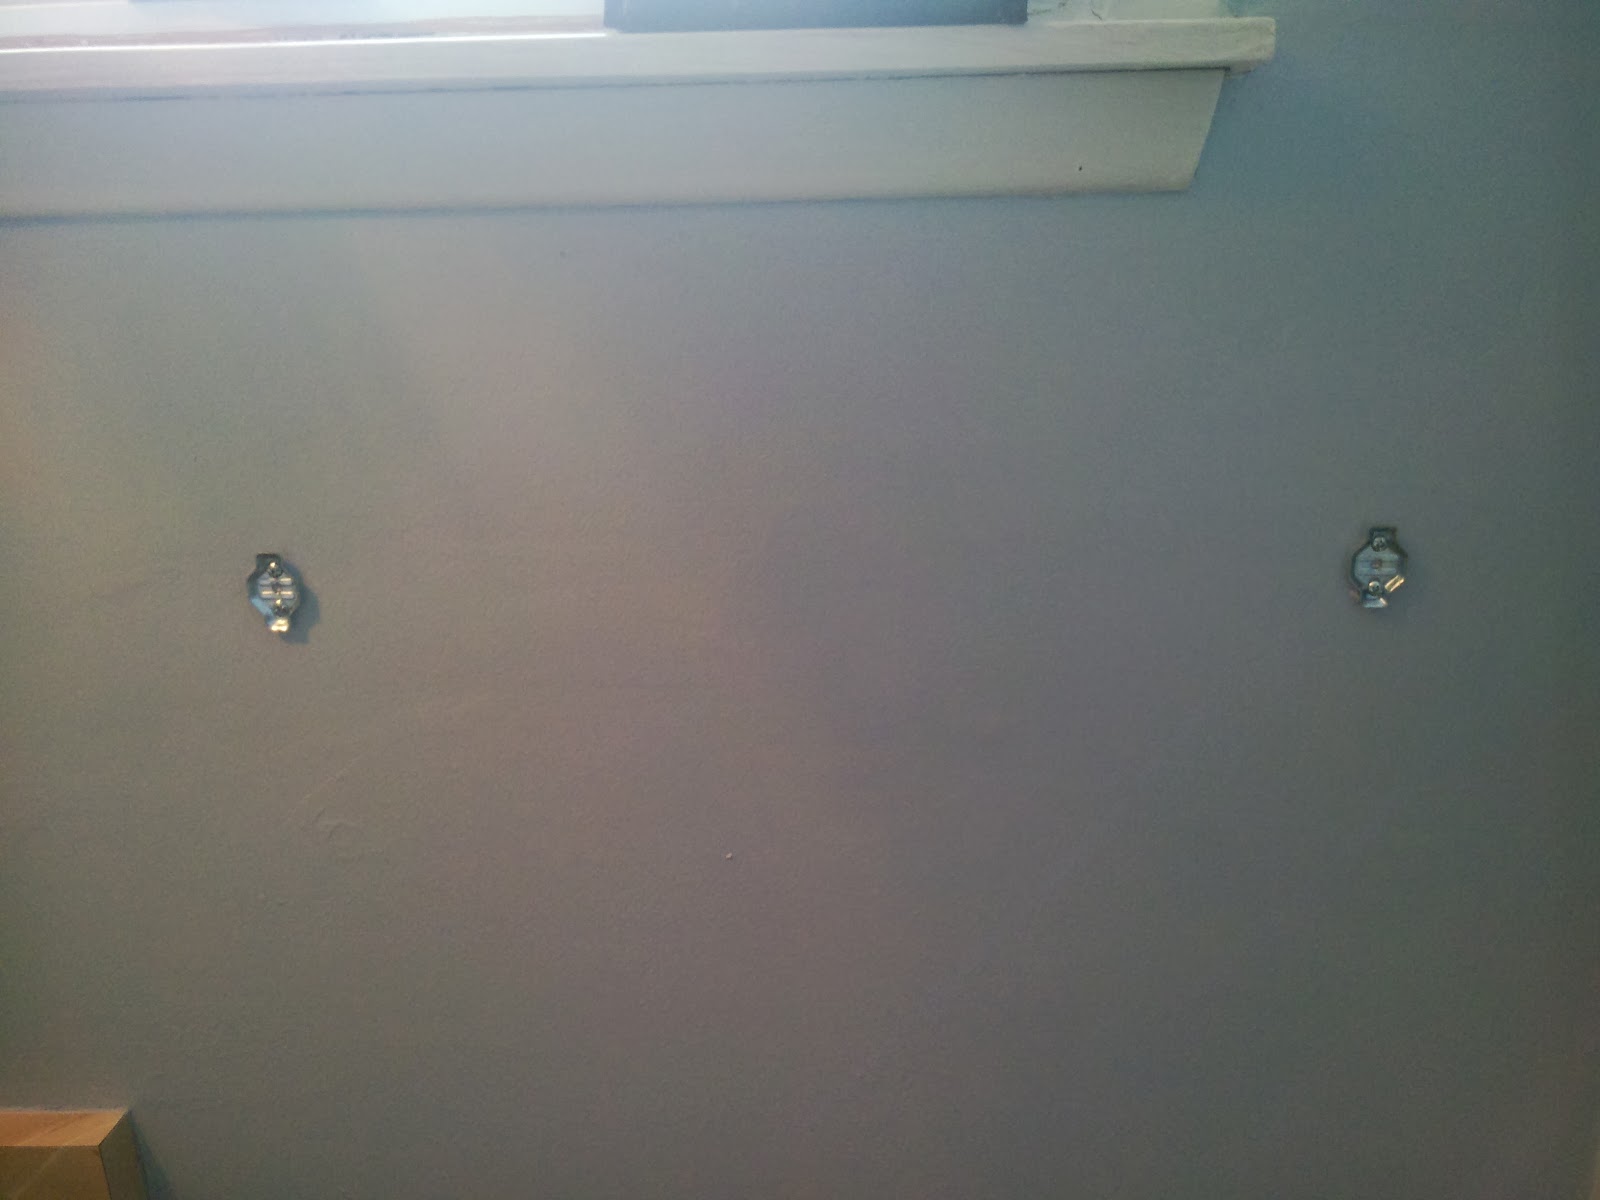

Your towel bar will have come with a set screw in each end piece. The set screws go down. Put in one end piece and tighten the set screw to hold it in place. Install the bar itself, put on the other end and tighten its setscrew. Check for level and decide if you need to tweak things. If you do, you will have to loosen the screw in the wall enough to tap the holder up or down a little. My bar was out a little but not enough for me to worry about.

Et voila! a towel bar set in wood on both ends that the kids will never rip out of the wall!


About Hole-Saws

Back when I worked in a hardware store, a lot of folks didn't know how to assemble a hole saw, so this is for folks like that. I hope this is helpful to those of you using a hole saw for the first time!

Hole saws have 2 parts. A cutter that is a big circle and a mandrel that is a drill bit attached to a holder. Sometimes you can buy both parts together, but sometimes they come separately. The picture below is my 4" hole saw and a mandrel.


To assemble the hole-saw, you just put the drill through the saw part, and then spin. there is a thread inside the hole-saw part, and a thread on the mandrel. Those threads will hold the two together. Sort of. Once the threads are together all the way comes step 2 of the assembly.

The 4 smaller holes surrounding the centre hole on the saw are there for the mandrel to lock onto in order to prevent the mandrel from either over-tightening or coming undone while the saw is used. With the mandrel screwed all the way onto the saw, push the knurled part of the hole saw down, and unscrew the mandrel until the pins engage in the holes in the top of the hole saw. It should be between 1/8 and 1/4 turn to get the pins to engage.
Mandrel with pins in the "disengaged" position

Mandrel with pins in the "engaged" position
Now you have a fully assembled saw, ready for work!

Hole saw all together with pins in holes

Hole Saw mounted to drill

 With the hole saw assembled, you are ready to cut a hole. It is very important to hold the saw so that its entire circle touches the wall at once. Keep it level (square?) or one side of the saw will grab and try to twist the drill out of your hand. With th ehole cut, you will wind up with a circle of wallboard inside the hole saw. Don't worry about that, but don't damage that plug either. We are going to need it.

Hole and plug. (Camera was tilted - that stud should be up and down!)
To get the plug out of your hole saw, you should be able to use a screwdriver or other small tool to poke through the additional holes in the back of the hole saw Just go gently. Try not to damage the plug.

Sunday, 5 January 2014

Kitchen Knob-ination

Wow! are we ever fast! Just a day ago I was setting our goals for 2014, and here we are with one completed already!

When SWMBO saw that I had posted up that list, she made a detour on her way to the zoo and picked up the needed knobs at Lee Valley so that I could put new hardware on our kitchen cabinets. When we bought our house, the new kitchen came with shiny aluminium pulls on all the drawers and cupboards. They look good, but feel cheap. And well, I don't think they really 'go' with the rest of the kitchen. Exhibit A - the island:

Original cupboards & pulls with lazy dog
So I made a stop at Lee Valley on my way home from a workshop one day and picked up 2 of every living thing. I mean pull. I think I came home with around 30 drawer pulls to test. I prevailed upon my loving wife to enter and leave the kitchen 50 times as I tried various combinations and permutations of the different pulls in order to establish through a double-blind test which of the various pulls best suited our kitchen.

After a long night which involved much wine and whining, I arrived at the preferred design. It was a similar profile with a darker finish and slightly larger circumference pull. It has a heft that speaks of quality, and a look that goes well with the dark counter tops. Exhibit B - Old and new pull on upper cabinet with back splash in background:
Old on the right, new on the left. Backsplash on wall.
And from a little further back. Exhibit B.1 - Same as above, but from further back.

Old on the right, new on the left. Backsplash on wall,
black granite countetop, ceramic breadbasket and Dark and Stormy to Drink.
We put the new knobs on one cupboard and test drove them for a month before deciding that in fact these were an improvement to us. Then we decided to get the needed 36 pulls from Lee Valley the next time we drove by. Only one problem... we never drove by during business hours. So our kitchen looked like we had lost a set of knobs and replaced them with something different. It looked like that for months.

Until I published our 14 for 2014, and SWMBO drove past Lee Valley, and the elements came together. I present to you Exhibit C: The new knobs!!

Dammit Bernie, get out of the way!
I repeat. Exhibit C: The new knobs!!

All new knobs. Oooh Perty!

Old knobs for reference
Our daughter came home from a week away and walked into the kitchen. The first thing she noticed was... Not This! I guess it didn't make much difference after all!

Now the important bit. How to make your very own Dark and Stormy.

  1. Put Ice in a glass. 
  2. Add Rum (Mount Gay or Appletons in our house)
  3. Add a little more rum
  4. Add Jamaican Ginger Beer.
  5. Stir & sip.

Mmmmmm Good Stuff!

Friday, 3 January 2014

Our 14 for 2014

Since my friend Gretchen over at Boxy Colonial posted a goals for 2014 list, I though, what the heck, lets follow suit. My list of stuff I really really hope gets done in the next 12 months. I am confident about 3 of these will actually be completed. OK, maybe 2...

1. Open up a doorway between the hallway and Dining room.

When we bought FrostHaus, the previous owners had just installed a new kitchen (Yay!) in order to maximize counter space, they deleted the doorway to the dining room. This seriously limits flow through the house and creates a dead pocket in the dining room. In order to open up the dining room, I need to cut a door in the hallway and relocate a cold air return. Its doable, but its likely more than  weekend's work.

2. Family Escapes

In the past we have enjoyed family getaways to things like Winterlude in Ottawa, or camping in Algonquin Park. This year I really want to plan an escape every month. Not necessarily big stuff, but just getaways to enjoy. We've got stuff booked up to March already, but April is a bit of a stumper. Maybe a trip to Sudbury for Science North? Its been a few years since we visited there. Maybe Great Wolf Lodge? I am losing sleep over this, and I shouldn't be.

<EDIT>The Destinations Planned...
  1. January - Cobourg DONE!
  2. February - Buffalo Outlet Shopping 
  3. March - Algonquin Park Yurting
  4. April - Letchworth State Park Cabin
  5. May -Darlington Prov. Park Camping
  6. June - A cousin's wedding at the Royal Botanical Gardens!!
  7. July - Mississagi Provincial Park - Camping
  8. August - Montreal - Boston - Atlanta Road Trip (???)
  9. September - Niagara Falls (???)
  10. October - TBD
  11. November - TBD
  12. December - TBD

    </EDIT>

3. Build stuff

Now that I have a decent assembly of tools and equipment in the garage, I need to dedicate some time to creativity and production. Once a month I'd like to turn out a project to be proud of. I have a couple things underway already... Which brings me to goal #4.

<EDIT>
The building list as stolen from another blog post...
  1. Bathroom Mirror and cupholder - I know this is on the 'finish stuff' list, but it really shouldn't be since it isn't even started.
  2. Bathroom storage crates - SWMBO has wanted some simple Milk-crate looking storage shelves in the bathroom for a while. I should probably get busy making them.
  3. Basement storage shelves DONE! and screw holder thinggy - the opportunity has come up to build a couple shelf units to store our paint and my fasteners a little better down there.
  4. Toy room storage unit - while we were talking about he shelves in the utility room, SWMBO pointed out to me that big toys like firetrucks and Octopods need homes in the toy room.
  5. Master bedroom reading wall. I mentioned this briefly to SWMBO about a year ago, but never made any progress. I'd like to find a way to integrate the headboard into it. 
  6. Garage workbench - another item that I found plans for a while ago, but never got close to building.
  7. Wooden toys for the boys. My grandfather gave me some wooden toys when I was small, and I loved them, it would be nice to pass this forward to my kids. Maybe a train or some cars. I dunno. Definitely not another crossbow. Its fun, but I have welts, and the dog is getting fat.
</EDIT>

4. Finish Stuff.

Over the past year we have started a bunch of projects that have never reached fruition. I am much better at starting than I am at finishing. I have about 3 garage/woodworking projects that I need to complete, as well as a couple house projects. I am counting these towards goal #3, and need to finish them before I start new stuff.

 For Completion:
- Ironing Board
- Kitchen hardware  DONE!
- Towel Bars  DONE!
- Marshmallow shooter DONE!
- Closet doors - Boys room DONE!
- Fence for Pool
- Mirror & cupholder in Master bathroom
- Play Kitchen Sink, stove, & countertop

5. Re-Knob-inate the kitchen. DONE!

This is one of those little things that ought to have been done long ago. I hate the knobs on our kitchen cabinets. About 2 months ago, I picked up an assortment of about 30 knobs at Lee Valley and chose the knobs of our dreams. Now I have one cabinet with nice knobs on it. I need to knob-inate the rest of the cabinets with those knobs. Lee Valley is an hour away. I have about 28 knobs to return before I buy the new knobs. Also Lee Valley is a dangerous store to walk into. It can get real expensive, real fast.

New Knobs!!


6. Clean out the garage, and create a working floor plan.

Right now a trip to the garage includes an obstacle course of garbage and recycling cans, toboggans, bikes, hoses and extension cords snaking around my ankles, and sawdust everywhere. I need to revisit my arrangement of tools, build a shop bench (see item 3) and do some wiring out there (already underway - see item 4DONE!. I need to build outdoor garbage can holders and hose reels, and an outdoor water hookup. With that all done, I should be able to fit a car in the 'other side of the garage' (see item 7) and still have functional shop space.

7. Get the old (new?) car functional.

This winter we picked up a old 1981 Mercedes 240D as fun beater car. With Chuck learning to drive, I wanted a tank with a stick-shift in it for her to learn on. Just one problem with this particular tank - it has rust issues that need patching before we can license it. It also needs the speedometer rebuilt and a few other small fixes. I am hoping Chuck learns a little auto repair from this, but with the current cold snap and no space in the garage, the car is just sitting. (I am excited to get driving this thing. It's as slow as a S-L-U-G, but its a pile of fun too)


8. Add a gas stove hookup in the kitchen and heat in the garage.

I like our current electric stove, but I love the gas stove I've lugged around to every house I've owned in the past 10 years. Since we already have gas to the corner of the house where a gas stove ought to be, it would be nice to hook up the stove. While I had a gas fitter around, it would also be nice to install a garage heater so that i can work out there in the cold months. Not sure if SWMBO would be on board for this, and its really low priority. But it would be nice.

9. Re-roof the House.

Our roof is showing early signs of needing a redo. I don't know how old it is, but the cracking shingles and loose aggregate up there makes me nervous. I am told it could last another season or two, but why risk it? I'm not sure if this is a project I could tackle on my own or not, but the more I look at it, the more I think its doable. Biggest problem for me is settling on a shingle design. I think our place would look awesome with Cedar or another natural product, but my budget screams out asphalt or fiberglass. What do you think?


10. Sell the Boat.

I love Iris and she has been a great boat, but its time to move on. Sailing has become my thing and the family needs me around the house more than the boat needs me out on the lake. I'm hoping to sell the boat early in the season and then crew occasionally with other folks. Maybe with the boat gone I'll use the pool more. I dunno.


11. Make some (any) progress on the basement.

The day we first viewed FrostHaus my comment was that the place needed a bathroom in the basement. It still needs a bathroom in the basement. In order to make that bathroom a reality, we may end up doing some pretty extensive reno work on the rec-room. We could end up pulling down the ceiling, rewiring the whole basement, redoing the bar, and then putting in the bathroom. It's the job that keeps on growing. I should start by pulling out everything in the bathroom corner and at least getting wiring, plumbing, and framing up on that end of the room. I could conceivably put up a tarp and create a workzone that is somewhat insulated from the rec-room and do this with minimal disruption to the rest of the basement. Maybe.

12. Paint the master bedroom.

We have been talking about painting the master bedroom since day one as well. Right now it is something between purple and brown, with a floral border at the ceiling. While neither SWMBO nor I particularly care for this design, we can't settle on a colour/theme that we both like. The biggest challenge is that the border won't come off without a fight. That combined with the disparate design ideas we each have has stalled this room out entirely. We need shelving in there of some sort (as evidenced by piles of boxes) and possibly a more functional furniture layout. I'm not sure where we'll end up though.

13. Fence the pool

Last spring I did a piece on installing our fence posts along the edge of the pool deck. Then I got sidetracked with pool repairs, concrete work, landscaping, etc. and never returned to the fence (see item 4). Those posts are still standing, but they are doing a whole lot of not much at all. In the fall I mentioned to SWMBO that it might be cool to establish another espalier along that side of the pool to act as the fence between the yard and pool. I think she's on board.  If that's the case, I'll get out there this spring with more wire and turnbuckles to install another 50 feet of trees. likely pears or cherries along this side though - we need some variety!

14. Involve the kids.

Through many of the project we have done, we have worked around the kids where we could have pulled them into the work. I have had buddy run the drill press, and he liked helping shovel gravel when we did the retaining wall. Now that Cuppa is getting to be pint-sized he could help a little too. Sure the work will suffer, and technical or strength based tasks will be beyond them, but there is no reason that they can't help slap a base coat of primer on a wall, or help demo drywall. We do pretty well with involving our boys, but i think we can do it a little more, and a little better.

Thursday, 2 January 2014

Charging Stations

Since I've amassed a few tools over the past year, I decided to give home made projects a go this Christmas. But I wanted to give something that was both practical, functional, and pretty to folks.

Steve Ramsey's site, Woodworking for Mere Mortals has a lot of small projects that fit that bill, and he presents them in an easy-going, relaxed manner that makes you want to try the stuff he builds.

In any case, on his site there is a plan for a cell phone/tablet/etc. charging station that looked interesting so I gave it a go. Here is the result:


These work by putting a 6-outlet powerbar inside the box with the plug sticking out the side to allow you to make a connection. Then you plug in your adapters to the powerbar, and poke the USB or other adapters out the holes in the front, or through the slots in the top. It hides all the ugly and corrals all the wires.

The plans called for the boxes to be trimmed with iron-on laminate and pre-formed molding, but since I got the planer, I was able to shave some cherry down super-thin to bend along the edges and shape to form the trim strips. The lighter coloured box was made with cedar which bent much more nicely, but the wood crushes easily. I also strayed from the design by using pegboard for the back board on these in order to allow a little additional airflow through the boxes.

Everyone was really happy to get these, and I hope they see some good use. Only problem is I never completed one for our house!

A lesson from this project - I need a better circuit in the garage. The planer keeps popping breakers, and the bandsaw barely starts. More on that later.

Monday, 4 November 2013

Investiture Night!

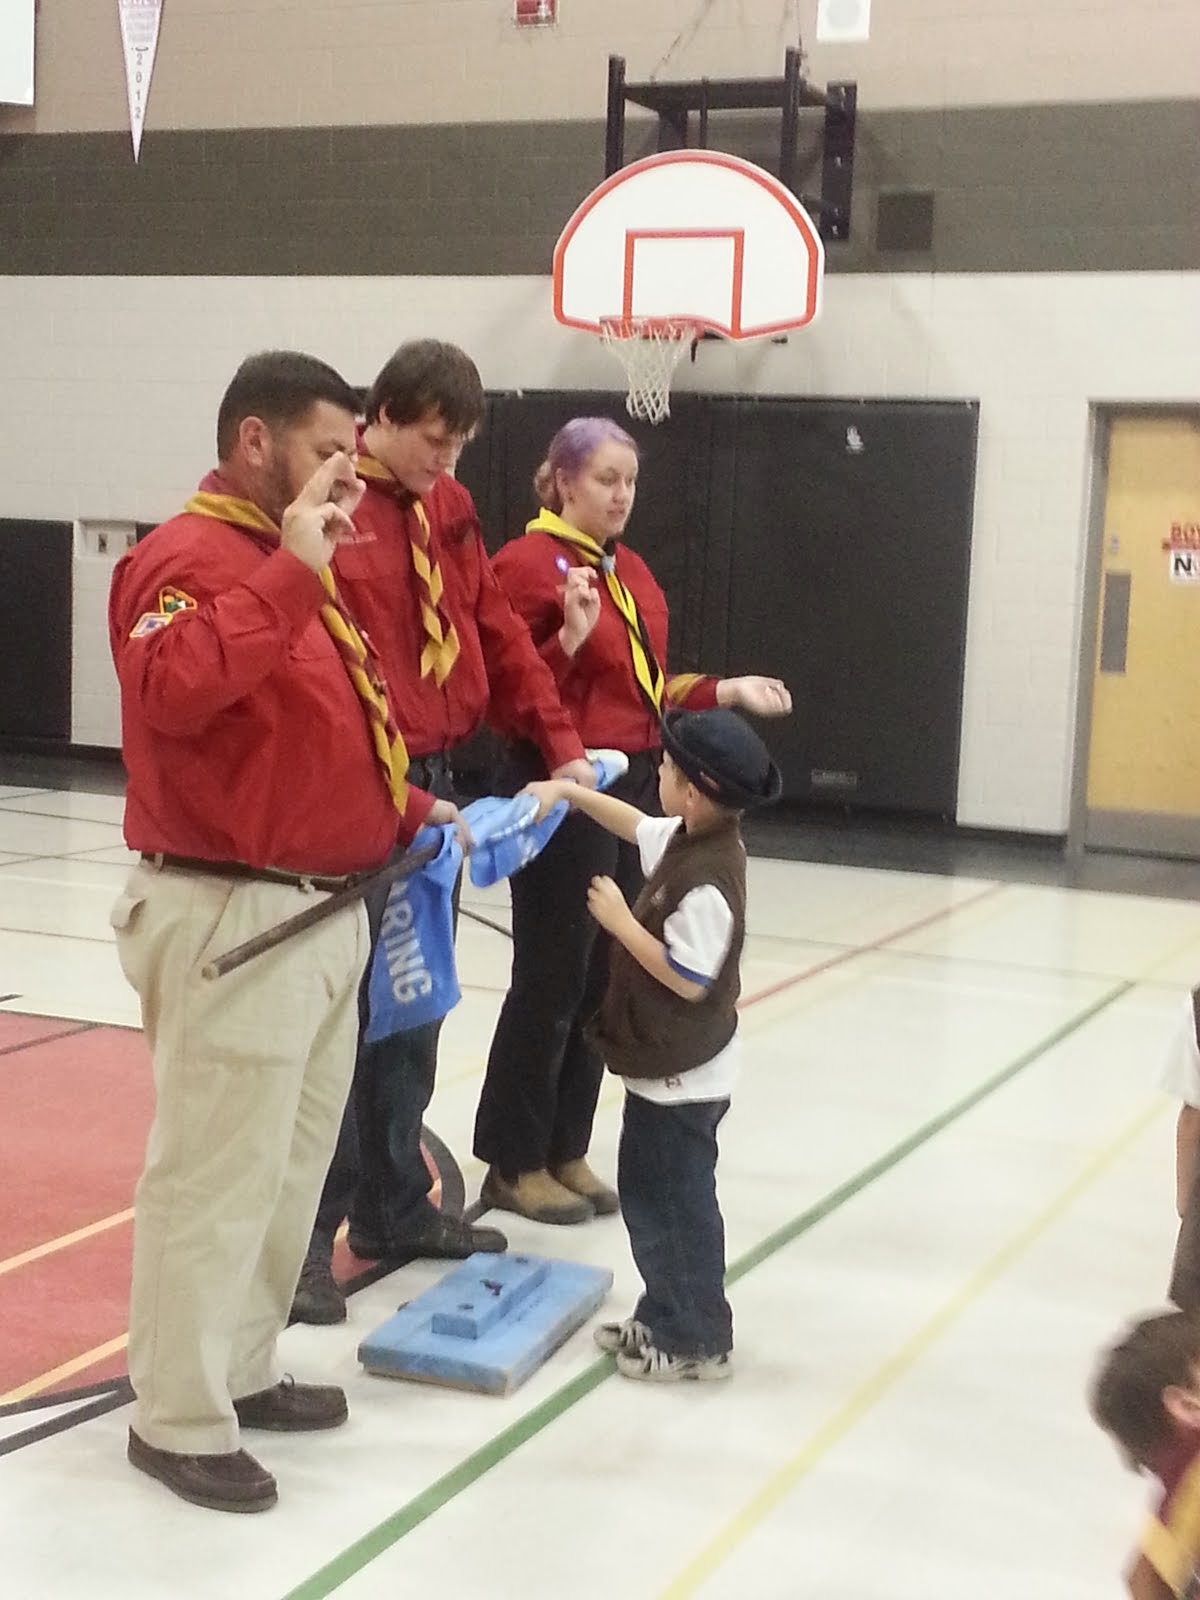
Tonight Buddy said his Beaver Promise, Law, and Motto, and received his Beaver scarf and woggle

Saturday, 2 November 2013

Family Photos...

This years family photos taken by Mama on the front porch last weekend.  Emailed to Uncle Steve for re-touching Friday morning. Submitted to costco for printing at 11 on Friday, and were ready for pickup at noon on Friday.

I couldn't be happier with the results, and the total cost for 5 8x10's and 20ish 5x7's was less than $20.

Friday, 1 November 2013

This Year's Halloween line up

The boys out front getting ready to leave....

Cuppa goes as a giraffe (and this is the first year he has worn a costume not previously worn by Buddy)

And Buddy goes as a ghost…. no a witch… no Mama, a ghost…. but maybe a witch….really mama, I just want to be scary.
 Either way, he & Daddy had fun making this one together :)