
So here's the deal, you live someplace where the roads are covered in ice for 5 months of the year, and being a safe driver, you go out and buy a set of winter tires. Then every fall you go to the local wrenchtwister and have him swap out your summer tires for winter tires and vice-versa.
He charges you $50 - $75 to change the tires and store them, and you know that there has to be a better way to store these things than paying him $100 a year for 15 minutes work, but you don't want them underfoot in the basement or garage or hall closet.

Well, fear no more. Here is a storage solution you should be able to scrape together for a pittance. Mine cost about $2.50 since I had a lot of the material on hand as scrap from other projects. Yours may run a little more, but surely not as much as the off-the-shelf tire racks at Canadian Tire (currently $100.00 - $160.00)
Materials:
- 3 Motorcycle tie-down straps (Use old cam-straps that are past their service life - they aren't holding a lot of weight, and won't see any shock loads. Avoid ratchet straps since they are less adjustable for this application - new cam-straps are $10 for a 4-pack at home depot)
- Piece of pipe or hardwood dowel 4 feet long and strong enough to take the weight of your tires. (I had an old pipe lying around that I used for this. A new 1" black steel pipe runs about $16.00 If you want to go with something cheaper, dowel is about $9.50 A fibreglass pole or a piece of lumber may also work. Look around, be creative.)
- Two pieces of 2" X 4" lumber, each of them should be about 3' long. I used scrap, so should you.
- A plywood or drywall 'scuff plate' to protect the garage wall from tire scuffs and give extra strength. A 48" X 12" scrap should be adequate.
- Two 3" X 3/8" carriage bolts with washers, and
2 Garage storage hooksor 2 screw eyes. <EDIT - The garage storage hooks are a bad idea. 3 years after install, mine stretched straight today and gave up the ghost, taking out the bandsaw as the tires came down. I replaced them with screw eyes. >
I had all of this except the storage hooks and carriage bolts on hand, so my setup ran about $2.50. But even if you have to buy everything on this list, you are still only spending about $20 - $25. Not bad at all. Even the cheapest tire rack at Home Depot runs twice that. With materials in hand, we are only about 30 minutes from a complete, loaded tire rack.
Lets start building.
The first thing to do is to get the 2X4's cut to size with matching holes. Clamp the boards together and cut them off at 28"
With the wood still clamped together, use a spade drill, to make a hole slightly over-sized to accommodate your lag bolts. The hole should be centered on the boards, and in 2" from the end. At the other end, measure in 2" and make a hole slightly over-sized to accommodate your pipe or dowel.
Measure to the center of a stud on your garage wall and attach one of the 2X4's pieces of wood using a lag bolt. 4 feet over, attach the second. They should be attached level to each other, above head height. The tires don't have to touch the ceiling, but they can if you want. the tires will likely be a little below the bar once in place, but you can lever them up above it too. It is best if you attach the 2X4's so they are on the insides of the stud bay, this will bring them closer together than the 48" long pipe or dowel.
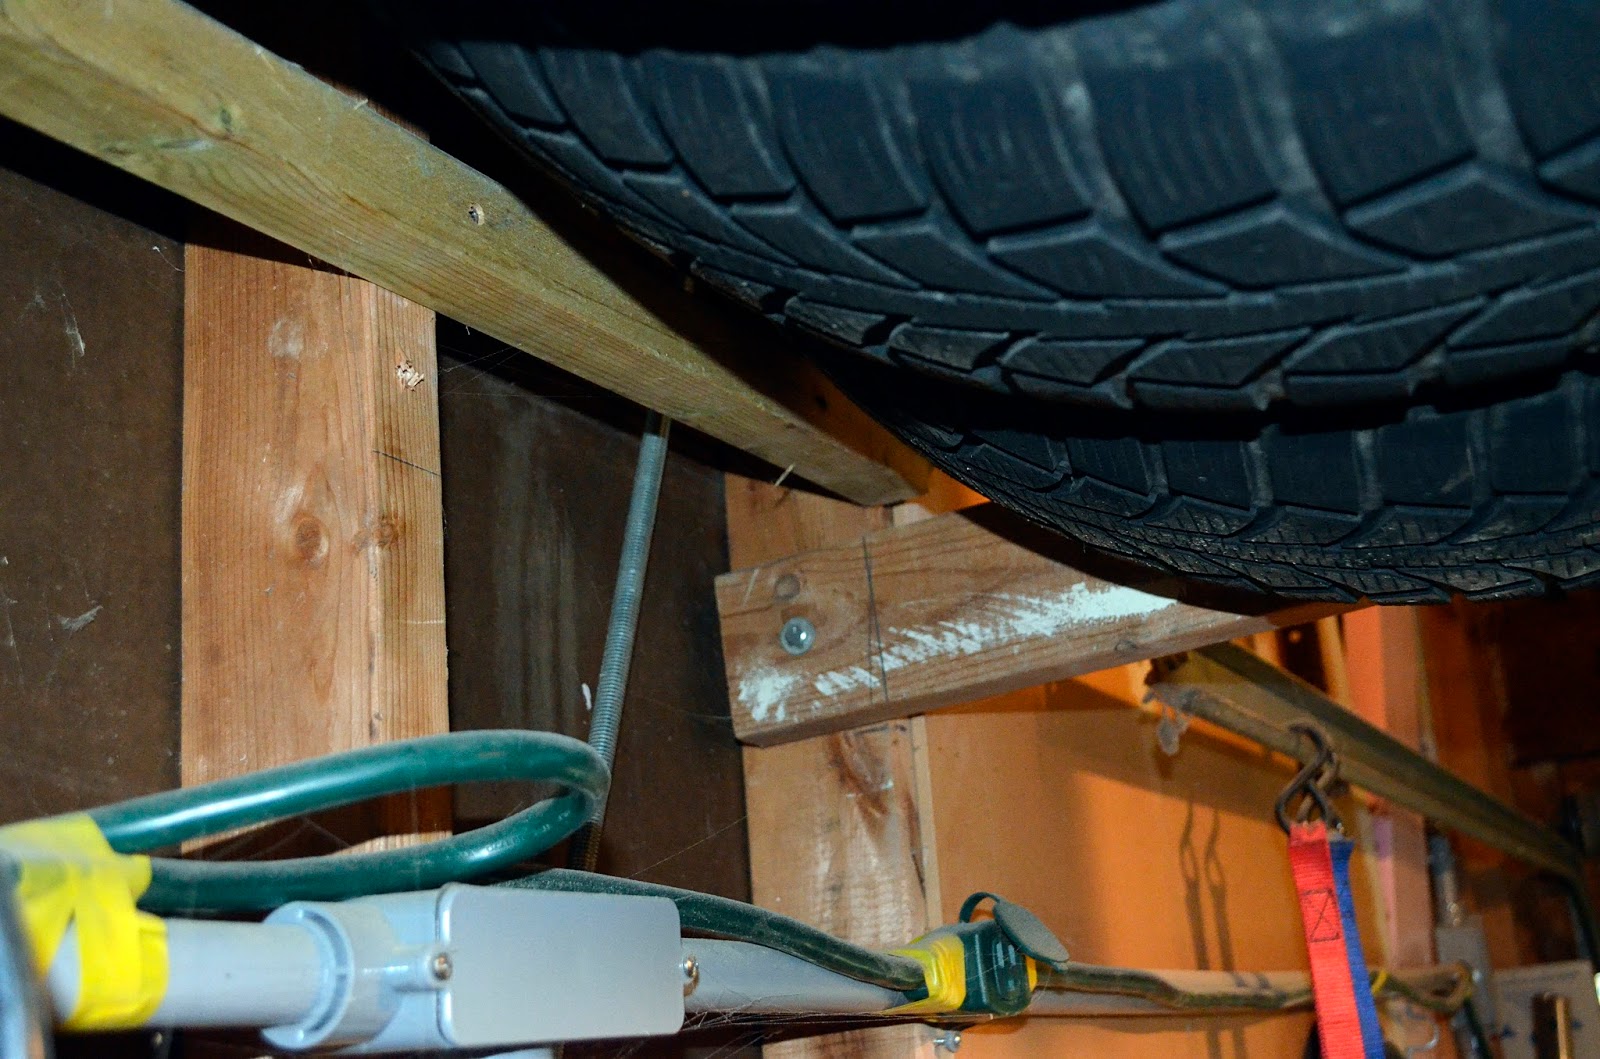
About a foot above the 2X4's you just put on the wall, attach the 'scuff plate'.

Take your pipe or dowel and feed it through the 2X4's. Use a cam-strap to pull the 2X4's together on the pipe and ensure the pipe's ends don't slip out.
Take the last 2 camstraps and attach them to the eye bolt, loop over the pipe, and then hook the other end back to the wall. One on each end.

Now by tightening and loosening the cam straps you can lower and raise the frame to lift or lower your tires when you are storing them.
And there you have it - the cheapest tire storage rack ever! Save even more cash by changing the tires yourself on a sunny afternoon. Just be sure to mark their position so you can rotate them when you put them back on in the spring!


No comments:
Post a Comment
Please take a minute to share your thoughts!